🧑🏼💼🎙️ Introducing AI Avatars & Voiceovers: Bring Your Listings (and You) to Life

If you’ve ever wished your property videos could actually speak to buyers, you’re going to love this update.
Real estate videos work best when they feel human — when someone walks a buyer through the story of a home. That’s exactly what our two new Beta features, AI Avatars and AI Voiceovers, are designed to do.
With just a few clicks, you can use either of the two features:
- Add an AI Avatar: Add a lifelike avatar to any listing video — no filming, no recording, no extra software.
- Or, add an AI Voiceover: If you’d prefer not to show a presenter, add an AI Voiceover that plays on top of your property walkthrough.
And here’s the best part: you can even create an AI avatar of yourself — so it looks and sounds like you’re talking to buyers, without the time, cost, or stress of being on camera.
Don't believe it? Here's an example:
It’s the fastest, easiest way to bring your listings to life, build trust with clients, and showcase both the home and your brand at the same time.
To make this even sweeter for our users, while in Beta AI Avatars and Voiceovers are included at no cost in your AutoReel Plan for up to 3 Avatars or Voiceovers per video.
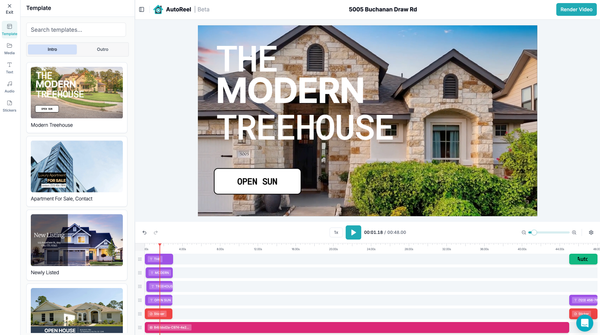
Note that it’ll be beneficial to have some understanding of Studio, our built-in Video Editor similar to Canva. If you haven’t done so already, it may be helpful to preview that guide and walkthrough to familiarize yourself.
Now, let’s dig into the latest exciting update – AI Avatars and Voiceovers! Let’s walk through how it works. 👇
Two Ways to Start
You can begin the Avatar/Voiceover creation process from two entry points on AutoReel:
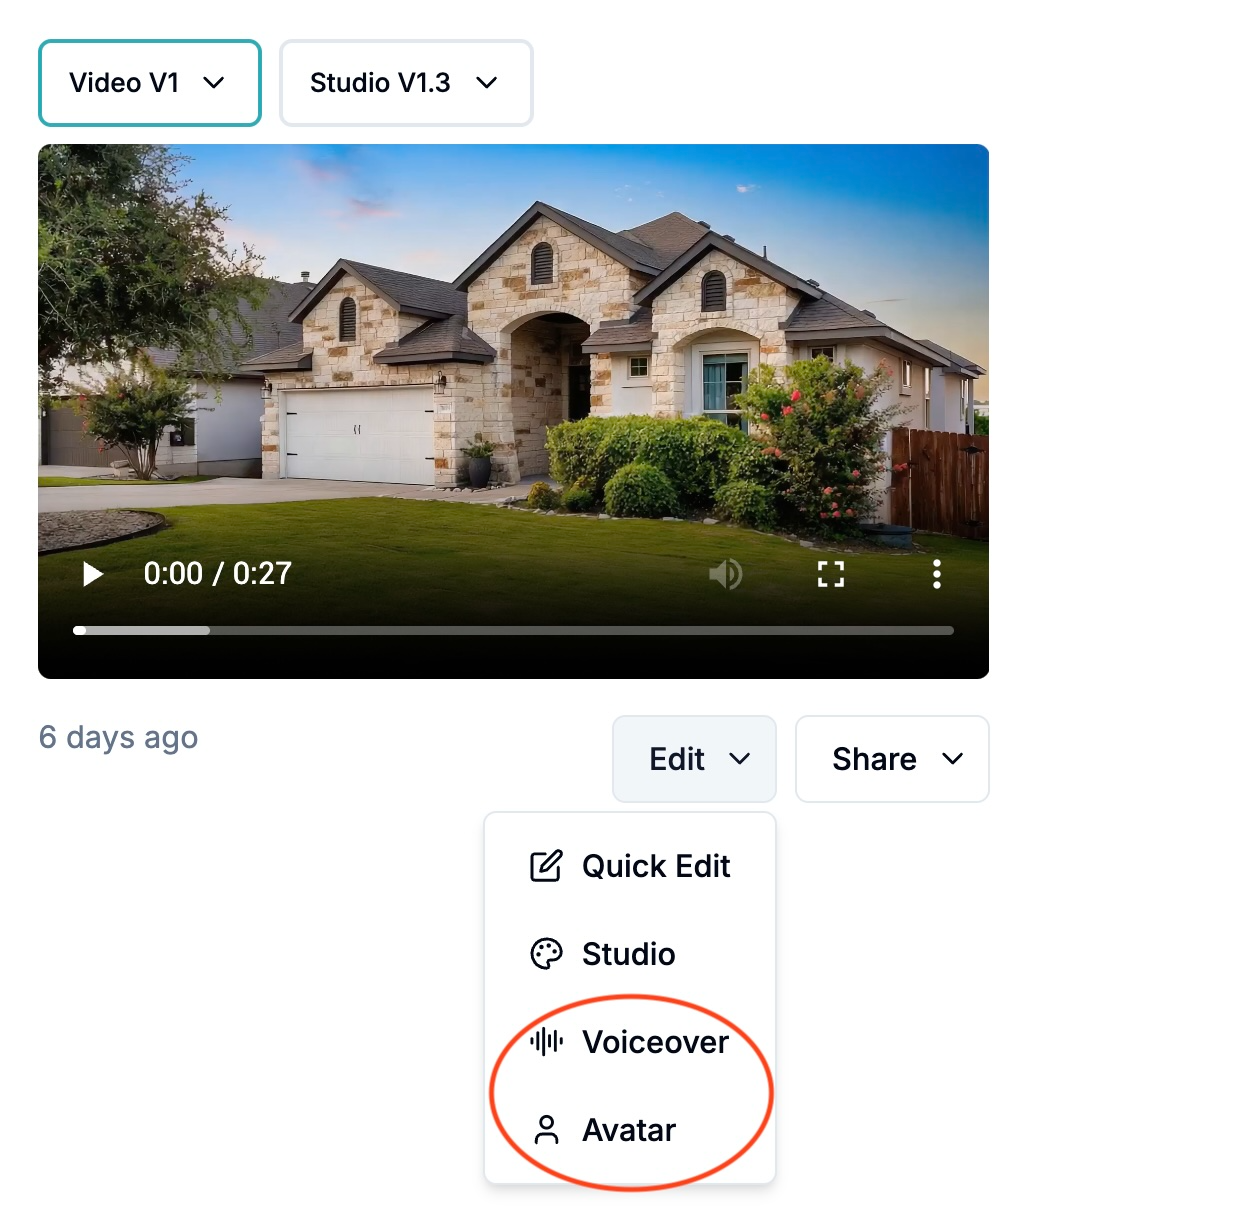
- From the main Video Dashboard → Open any video, click the Edit dropdown, and select either Avatar or Voiceover.
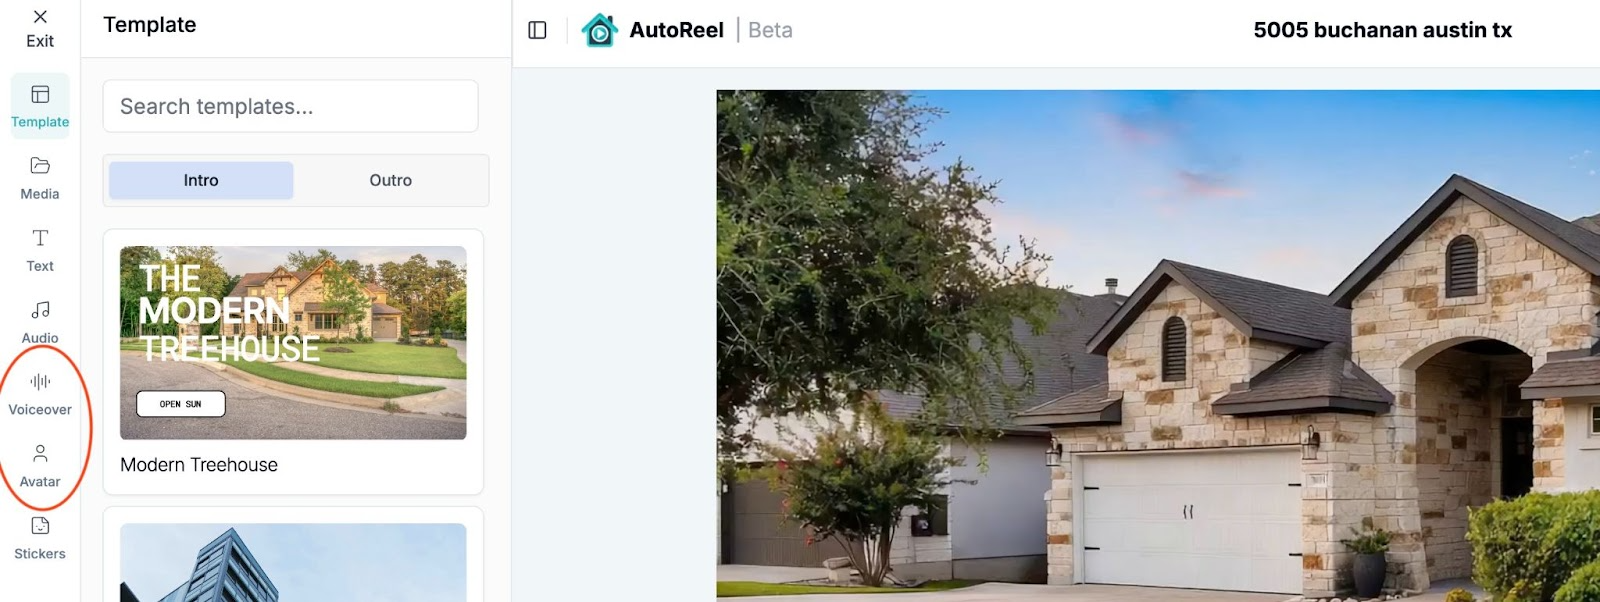
- From Studio → Within a video, click “Studio” to launch your video in Studio and use the Avatar or Voiceover tabs in the left sidebar.
Both paths open the same simple creation flow.
🧑💼 Option 1: Create an AI Avatar
AI Avatars put a real, human face into your video — either a professional presenter from our library, or an AI Avatar generated from your own photo.
How to add an AI Avatar:
- Open the Avatar Creator process from the main video dashboard or the Studio (see above)
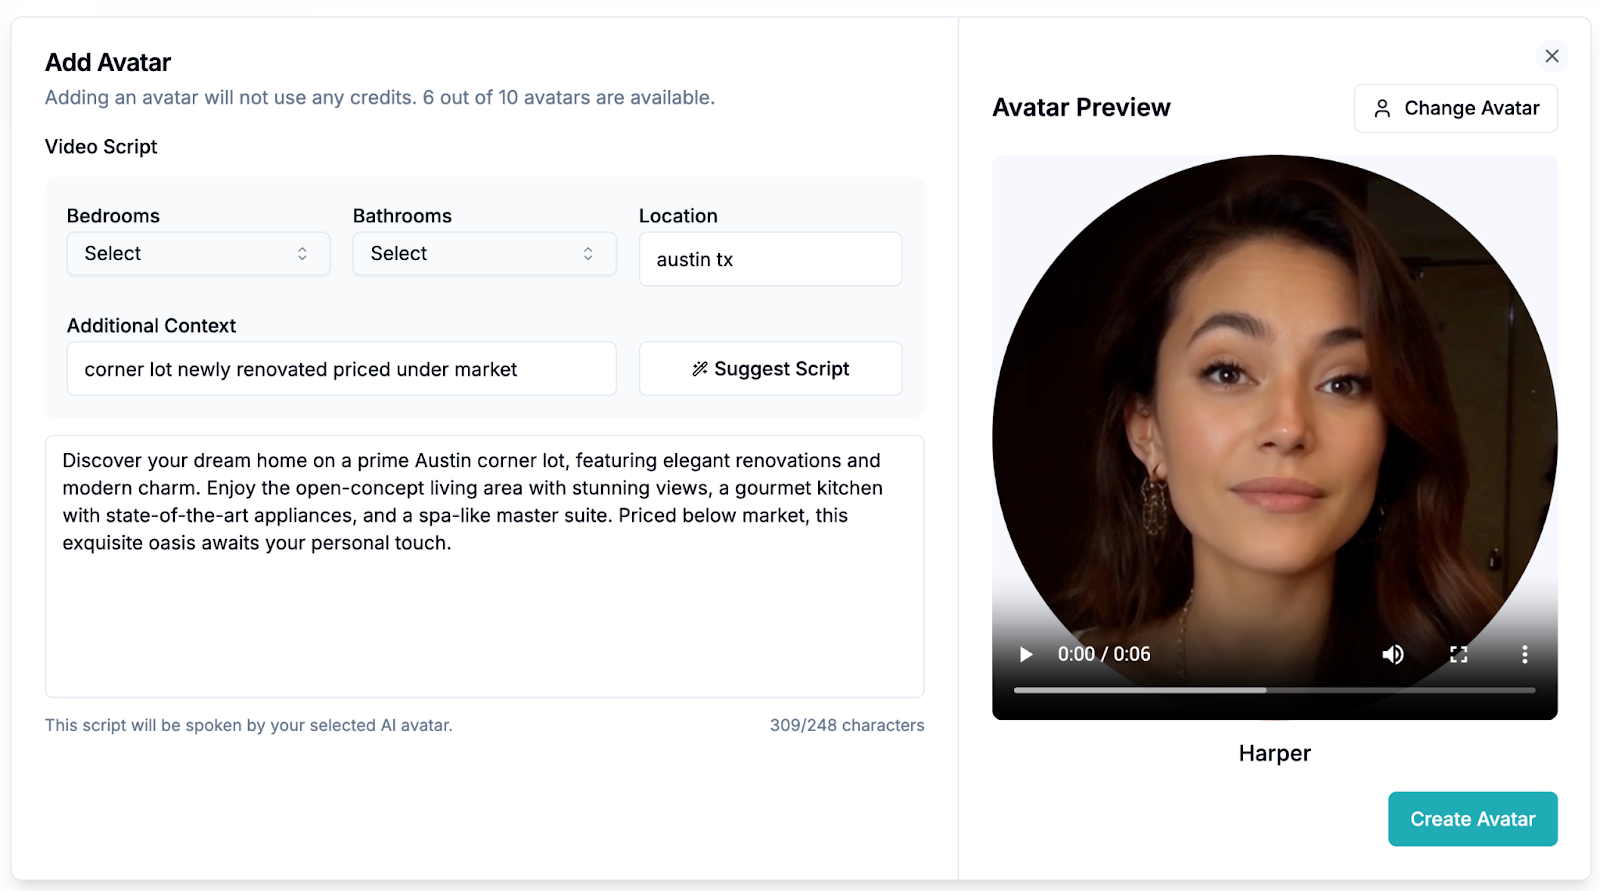
- Generate a Script Automagically
- Enter property details (bedrooms, bathrooms, location, or special highlights, e.g. “corner lot”, “newly renovated”, “needs tender love and care”, etc.).
- Click Suggest Script for AI to draft it, or type your own.
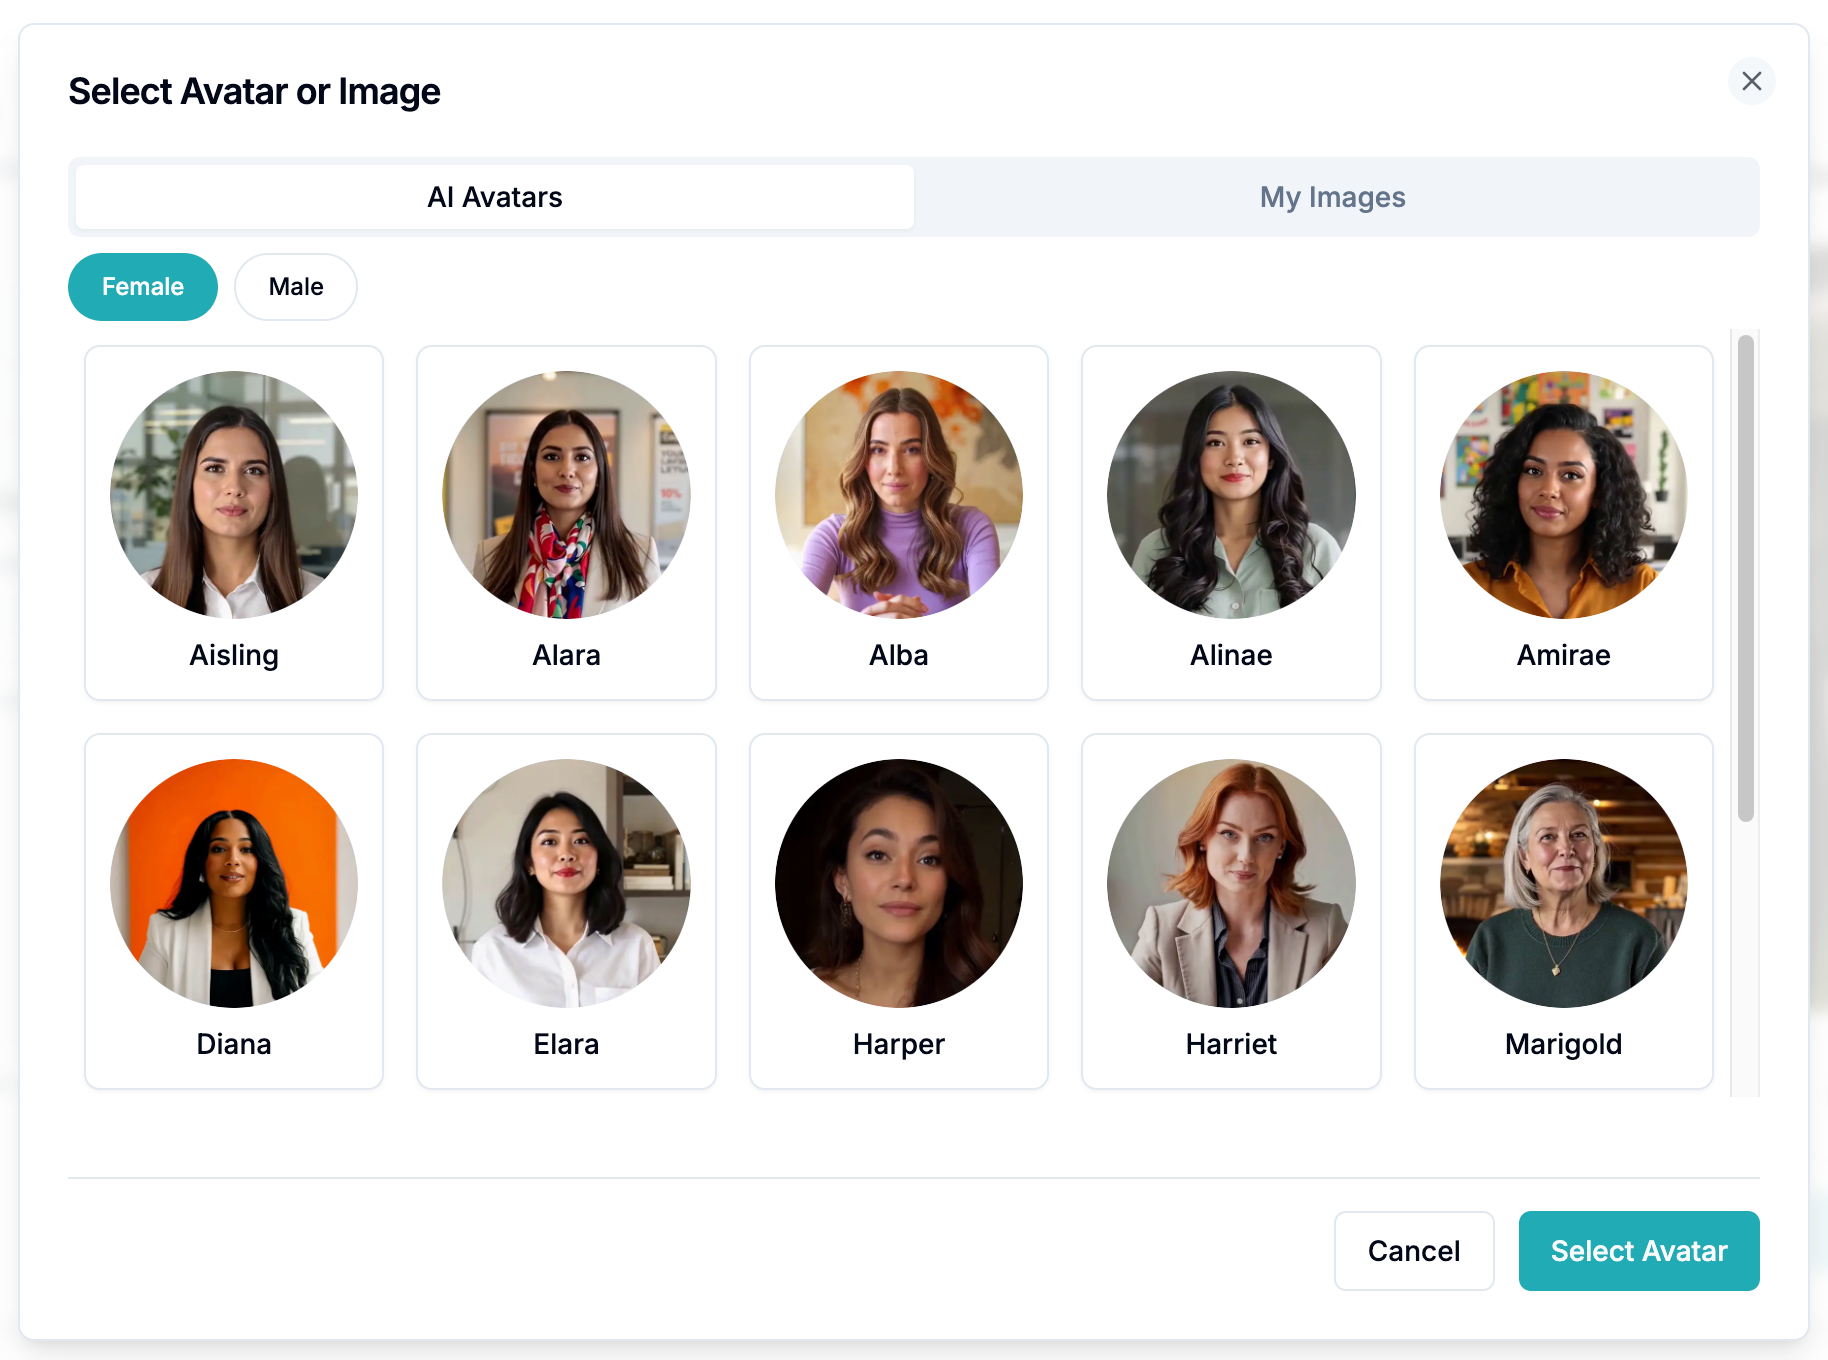
- Choose an Avatar
- Pick from our library of male and female AI presenters.
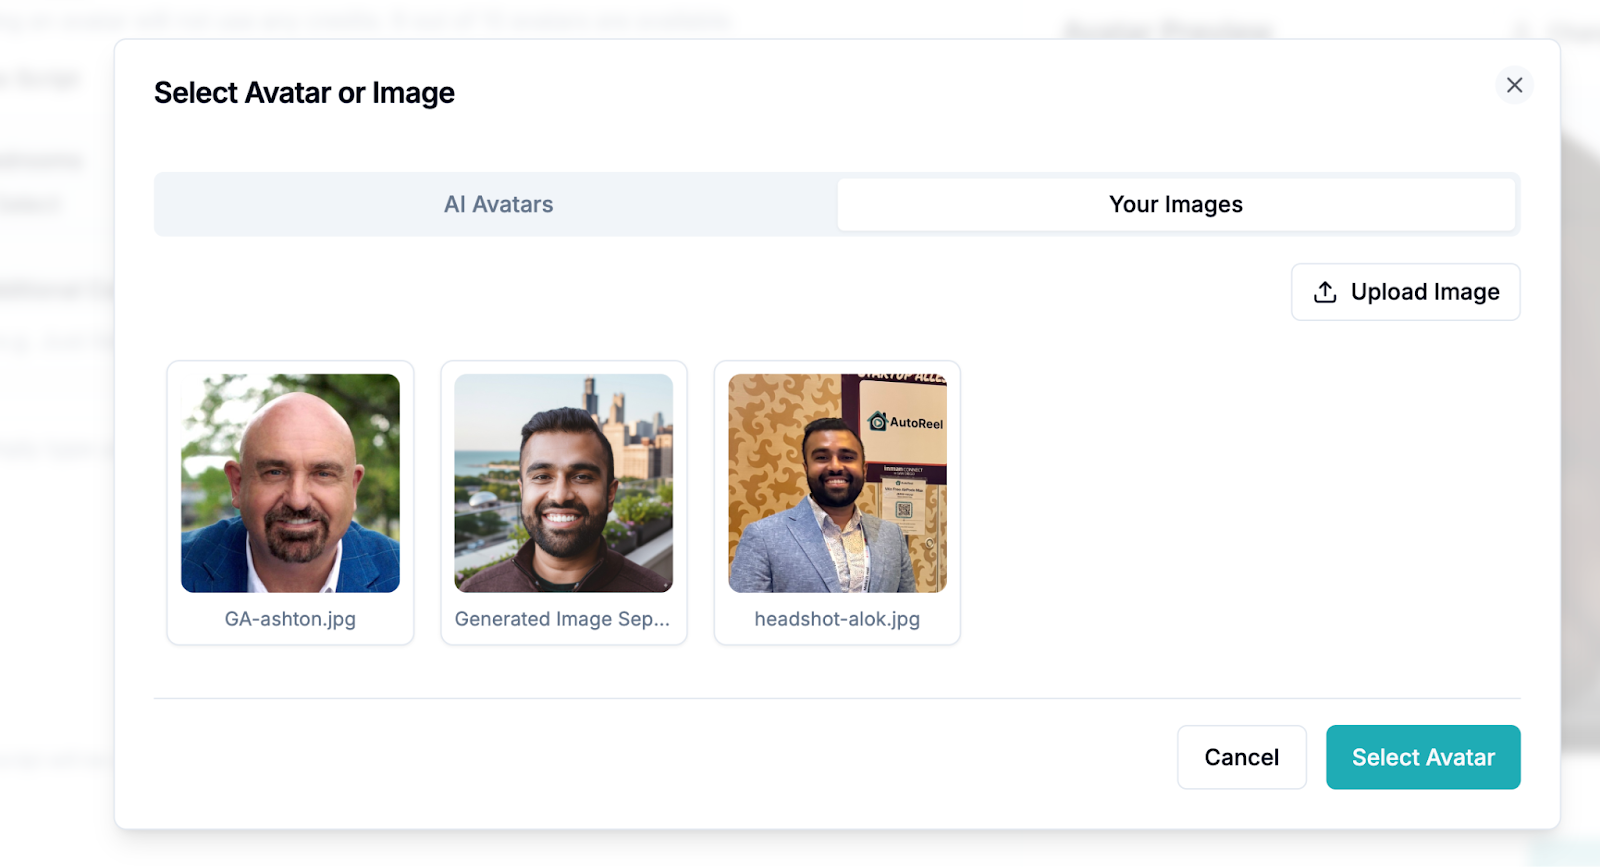
- Or upload a headshot to create your own personal avatar.
- Create & Render
- Click Create Avatar.
- Wait for the render process to complete. 💡 Tip: Avatars may take a few minutes to process — sit tight while your new video is being rendered.
- Enjoy!
- Your video will render with your chosen AI Avatar appearing in the corner of your video, auto-narrating your listing.
🎙️ Option 2: Add an AI Voiceover
Don’t want a face on screen? Use an AI Voiceover to add narration over your property video. It’s faster to generate and keeps the focus on the home.
How to add a Voiceover:
- Open the Voiceover Creation flow from the main video dashboard or the Studio (see above)
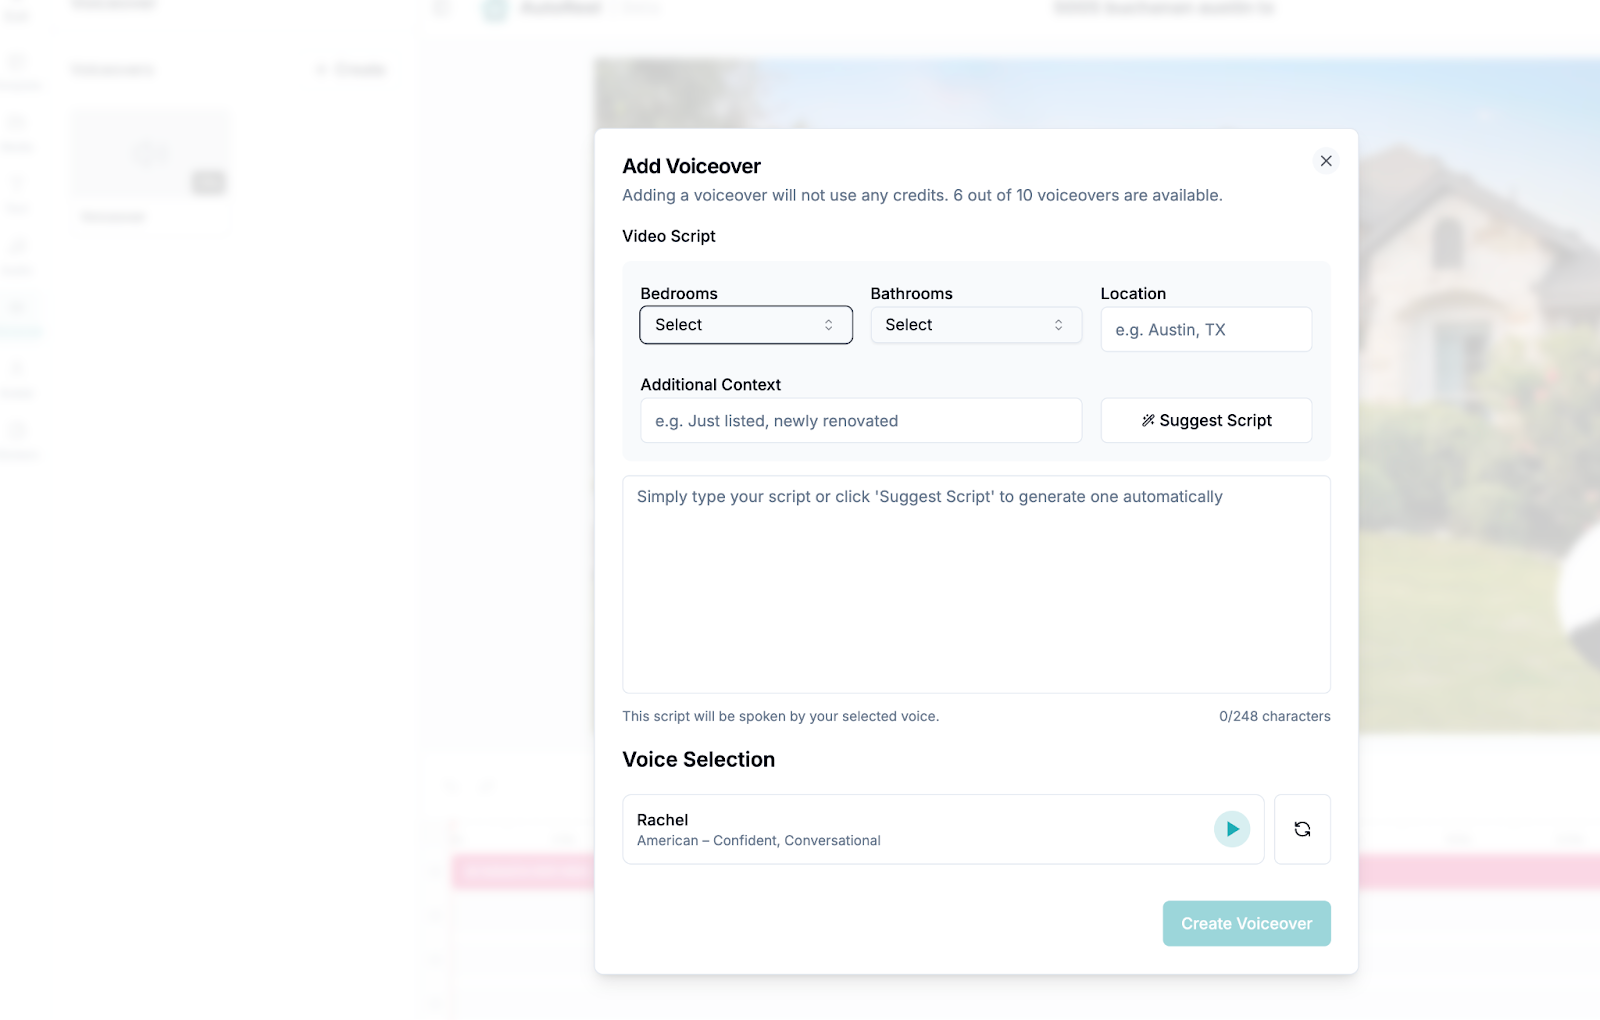
- Generate a Script Automagically
- Enter property details (bedrooms, bathrooms, location, or special highlights, e.g. “corner lot”, “newly renovated”, “needs tender love and care”, etc.).
- Click Suggest Script for AI to draft it, or type your own.
- Pick a Voice
- Choose from a diverse library of voices.
- Click play to preview what the voice sounds like, and select the one that fits your brand best.
- Create & Add to Timeline
- Click Create Voiceover.
- Wait for the render process to complete. 💡 Tip: Voiceovers may take a few minutes to process — sit tight while your new video is being rendered.
- Enjoy!
- Your video will render with your chosen voiceover, auto-narrating your listing
✏️ Editing Your Avatar or Voiceover
Need to update details after creating? Editing is easy inside Studio.
- Open Studio → Click Edit → Studio on your video.
- Hover over your Avatar or Voiceover in the sidebar and click the Edit icon.
- Update your script, voice, or avatar photo in the edit modal.
- Render the updated version.
- Apply it to your timeline by clicking on it — your changes will appear instantly in the video preview.
❌ Removing an Avatar or Voiceover
Want to switch directions or remove your Avatar or Voiceover narration entirely?
- Open Studio for the video.
- Click on the Avatar or Voiceover element in the timeline.
- Press DELETE on your keyboard (or right-click → Delete).
- Render your video — your listing will be saved without the avatar/voiceover.
⚡ Limits, Pro Tips, & Things to Know
- Overlay limits → For now, as part of this Beta release, each video supports up to 3 avatars OR voiceovers in total.
- One or the other → Choose Avatar if you want a presenter on screen. Choose Voiceover if you prefer voice narration only.
- Script length → Word limits adjust to your video’s duration. Short, conversational scripts perform best.
- Volume adjustment → Voiceovers and background music might overlap. To fix this, click on the voiceover or video in the timeline, and adjust the volume on the left panel (for example, 10% for background music).
- Avoid Abbreviations → For now, the AI engine will pronounce words as they're spelled. This means avoid abbrevations to keep it easy to pronounce, e.g. "sqft" -> "square foot" or "TX" -> "Texas".
🎉 That’s It!
With AI Avatars and Voiceovers, your AutoReel videos don’t just showcase photos — they actually speak to buyers.
- Use Avatars to make your videos personal and memorable.
- Use Voiceovers when you want a clean narration that keeps attention on the property.
Either way, you’ll save time, avoid the cost of filming, and never worry about being camera-shy again.
We’d love any feedback or suggestions as they greatly help us improve our product. Feel free to share through our Contact Us form.
Open any video and click Edit → Avatar or Edit → Voiceover to see it in action.
Built with ❤️ by the AutoReel team.